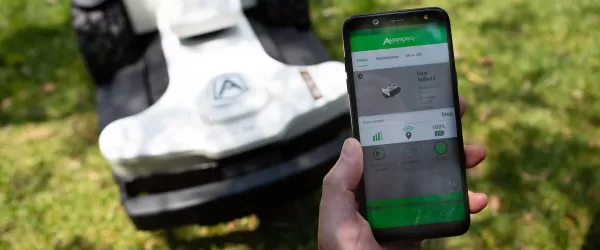
It's so easy to install an Ambrogio Robot!
Do you need to install your new Ambrogio Robot? Follow our advice and consult the user manual supplied with the lawnmower.
Ambrogio Robot installs quickly and is immediately ready to start working.
Installation
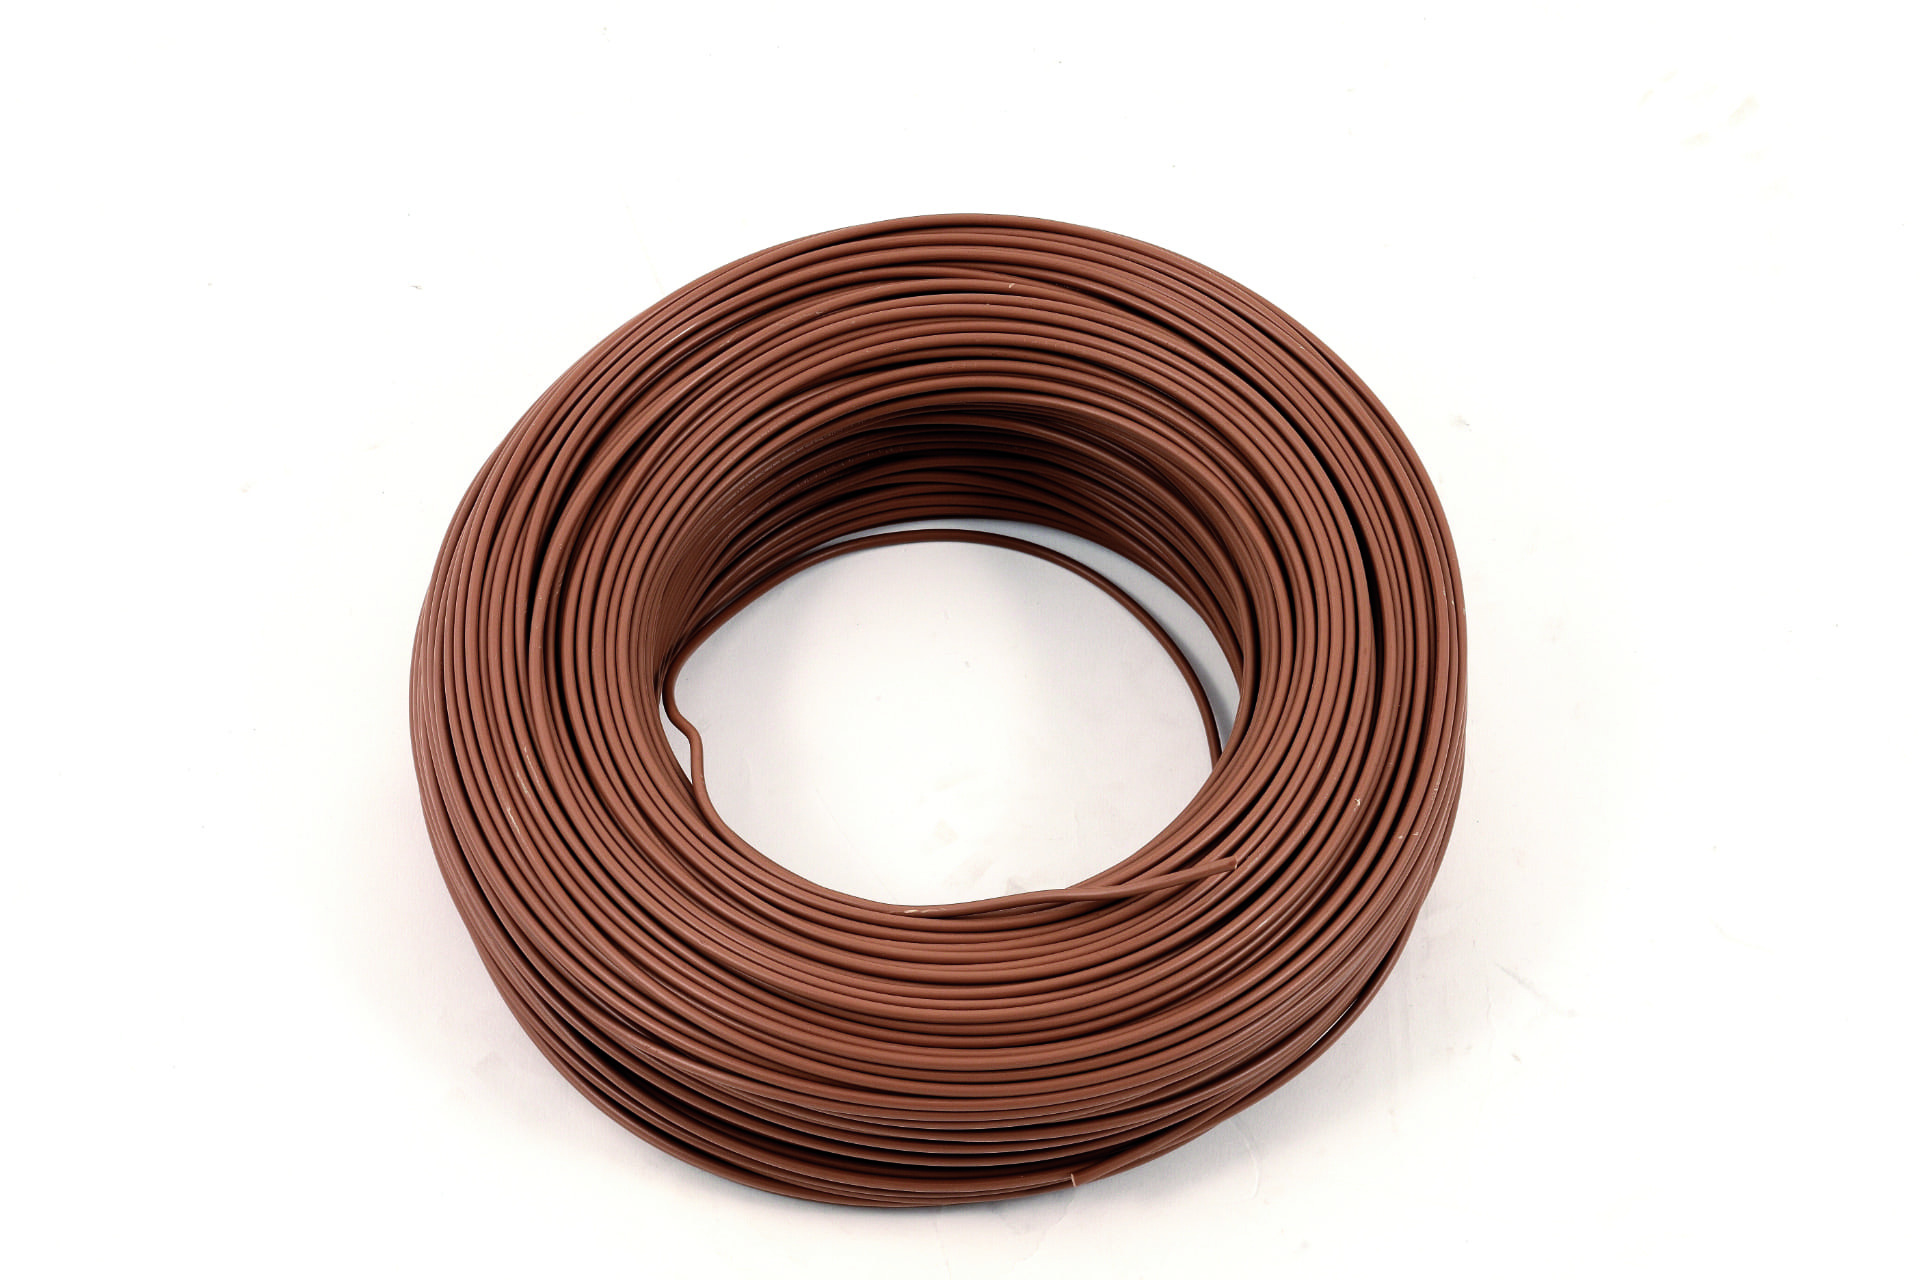
Perimeter Wire
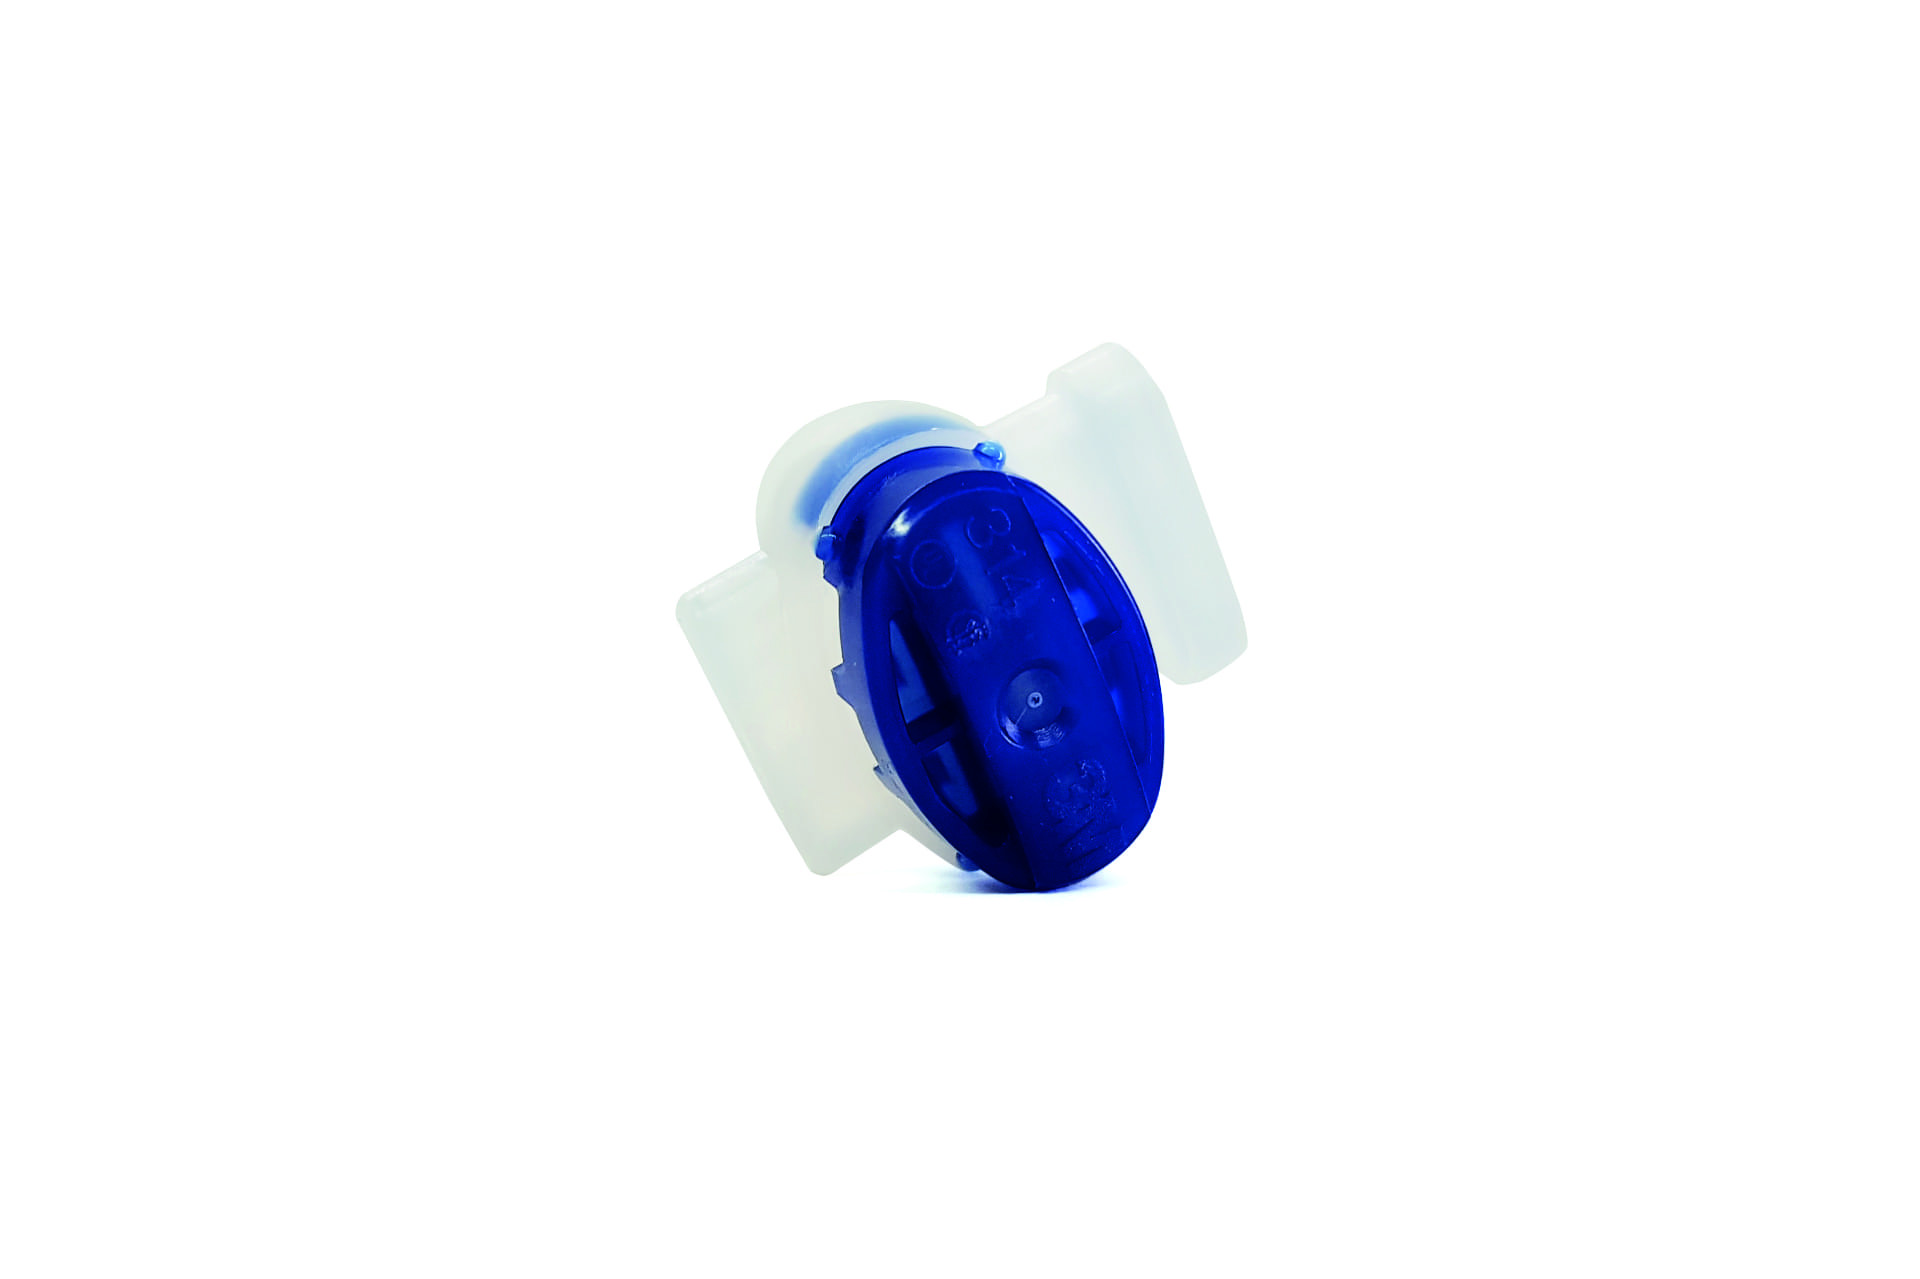
Connector
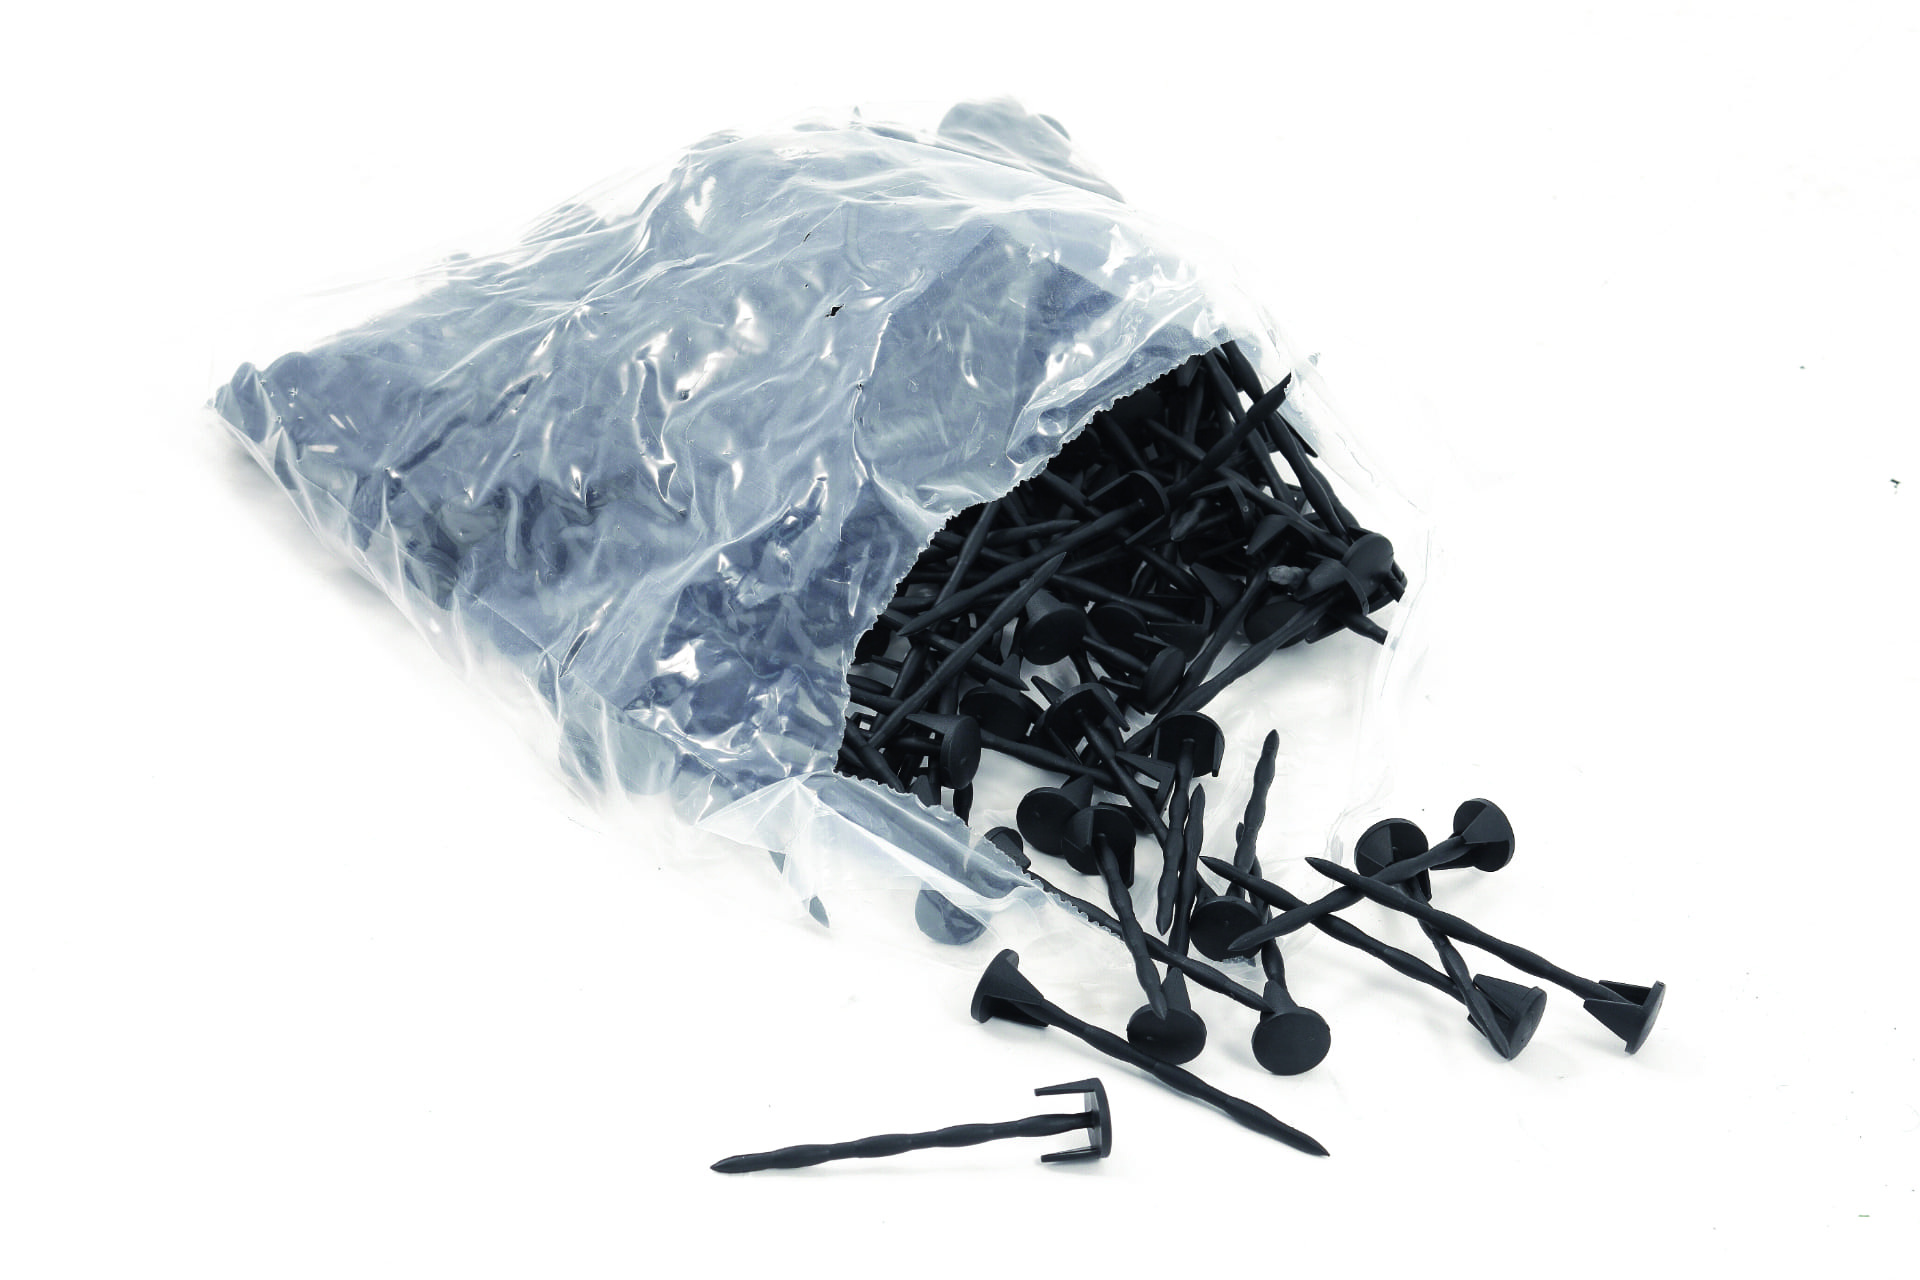
Pegs
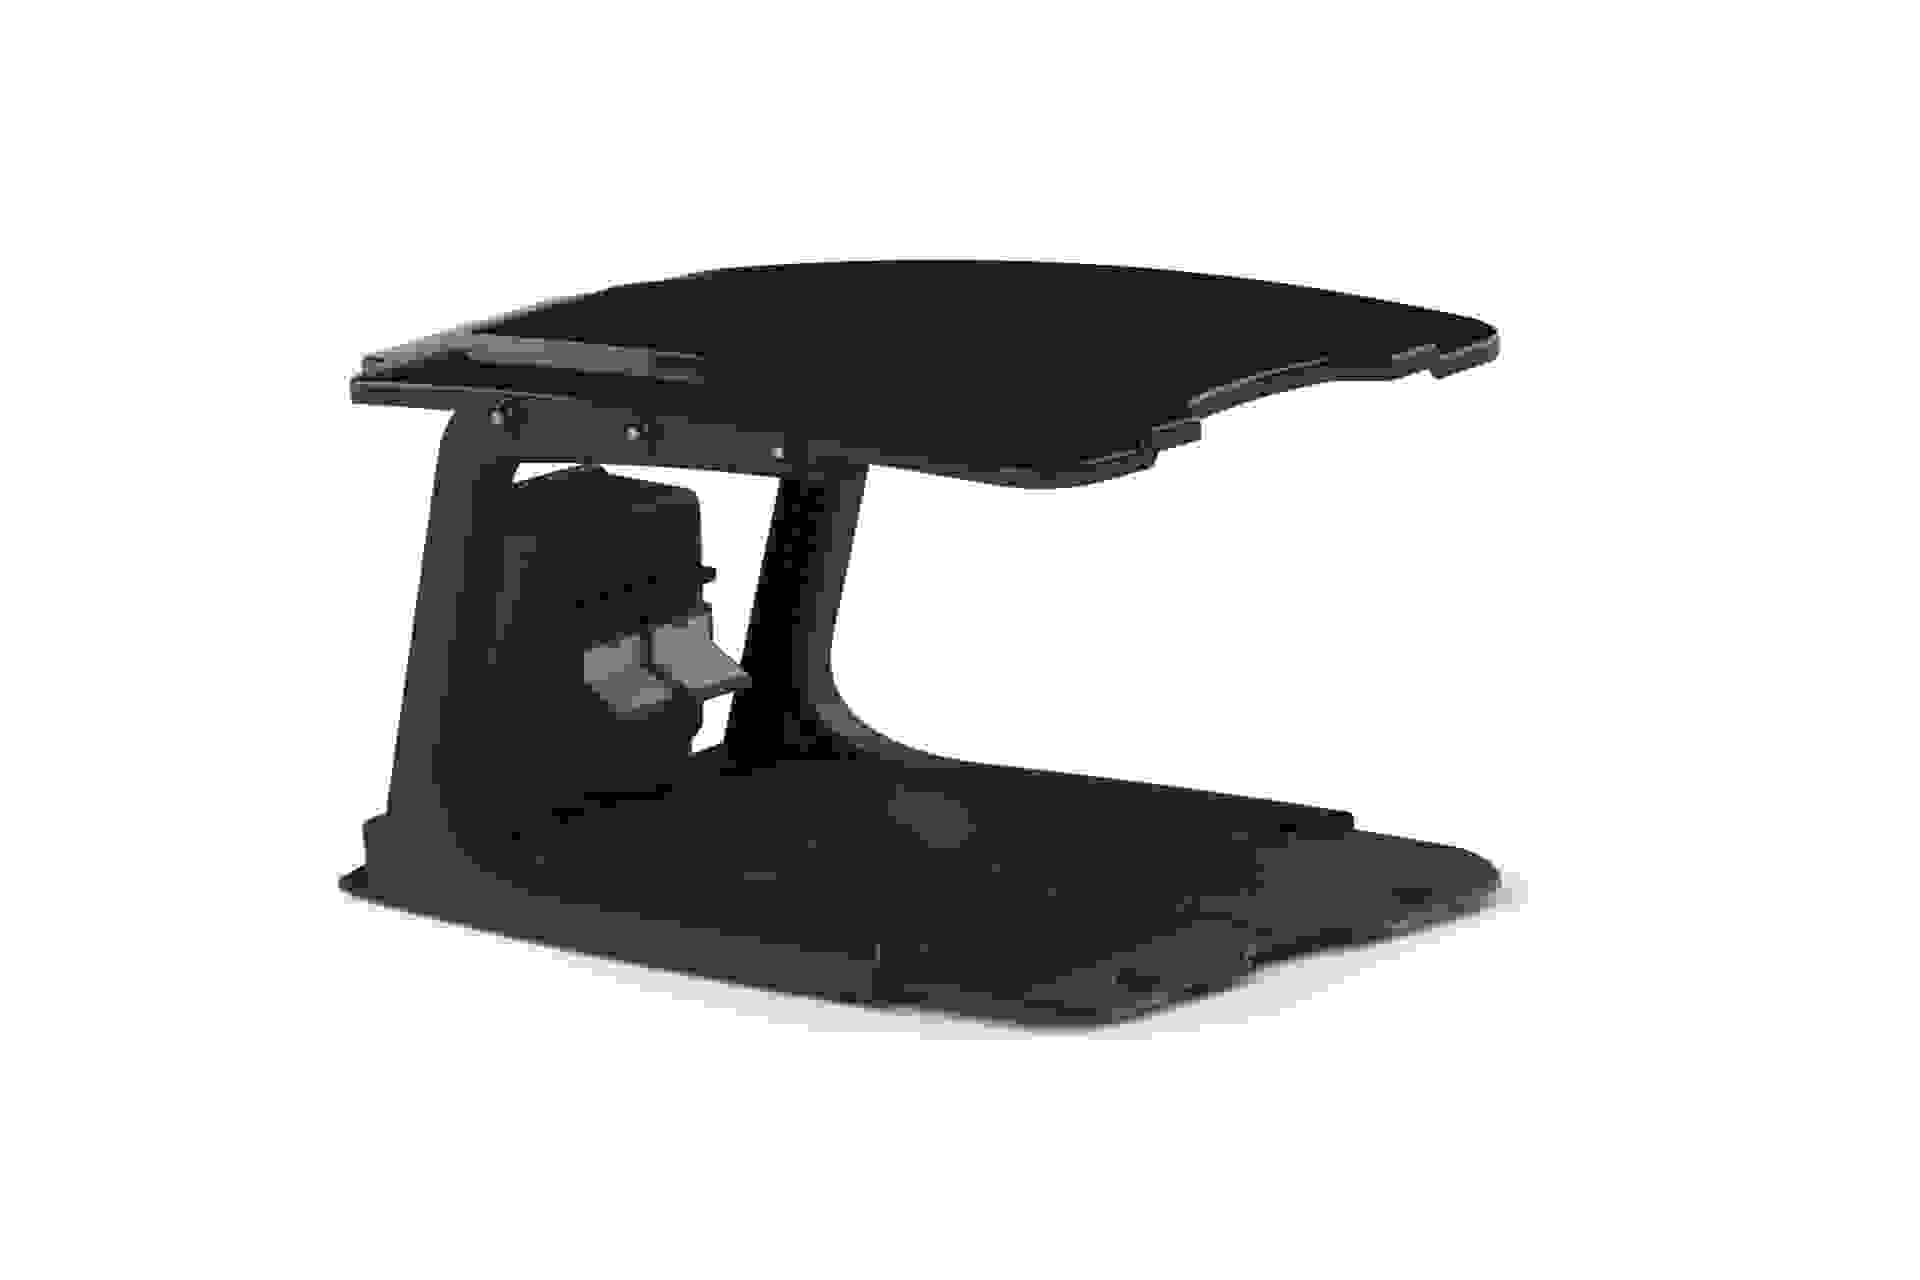
Charging station
It's easy to install Ambrogio, however, if you are not sure how to use the tools or have any doubts, please contact your nearest authorised dealer. Please note that, in addition to sales, local dealers also perform ordinary and extraordinary maintenance.
For detailed information on how to install Ambrogio Robot please contact your dealer or our technical support service.